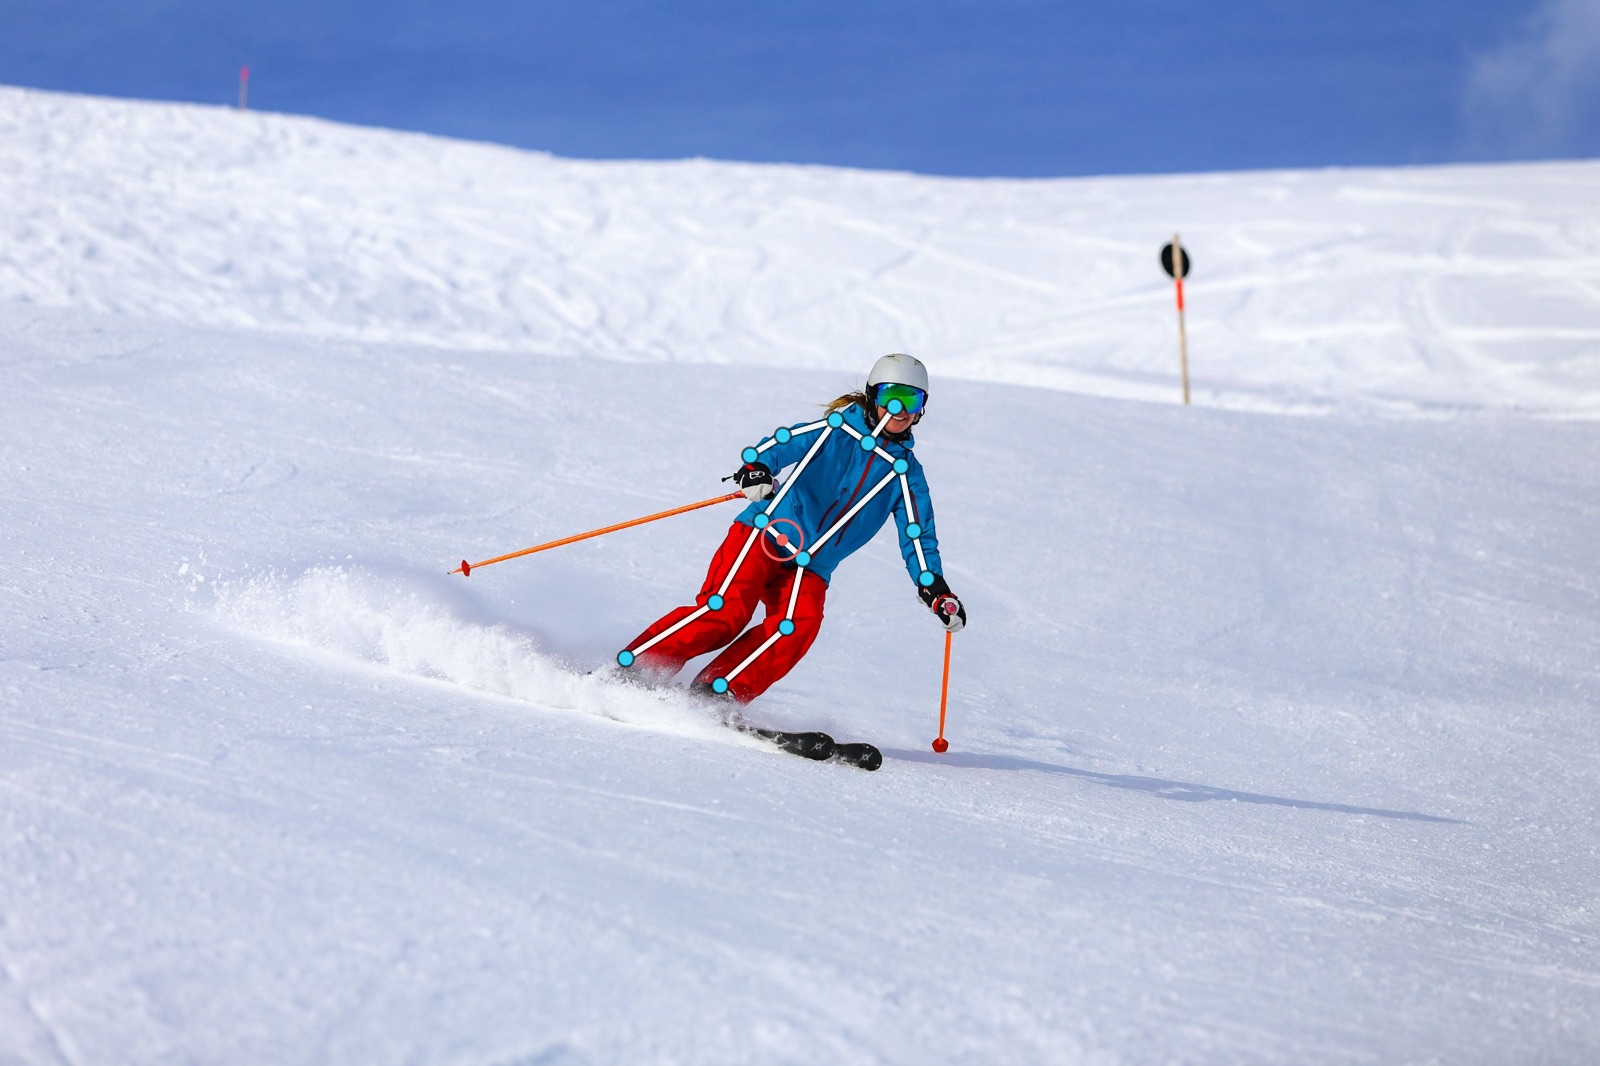
The best coaching in the world can’t help with a clip where the rider is a dot in the distance. Good filming takes no special gear, just a friend with an iPhone and a few rules.
1. Get the whole body in the frame
Boots to head, every frame. Body tracking needs to see your ankles, knees, hips and shoulders. If your feet are cut off, it can’t tell how much you bend your knees.
2. Close enough, not too close
The rider should fill roughly a third to half of the frame height. Too far away and the body is a few pixels tall; too close and you leave the frame mid-turn. Zooming in a little is fine; zooming in a lot makes the image shake.
3. Pick the right angle
Different checks need different views:
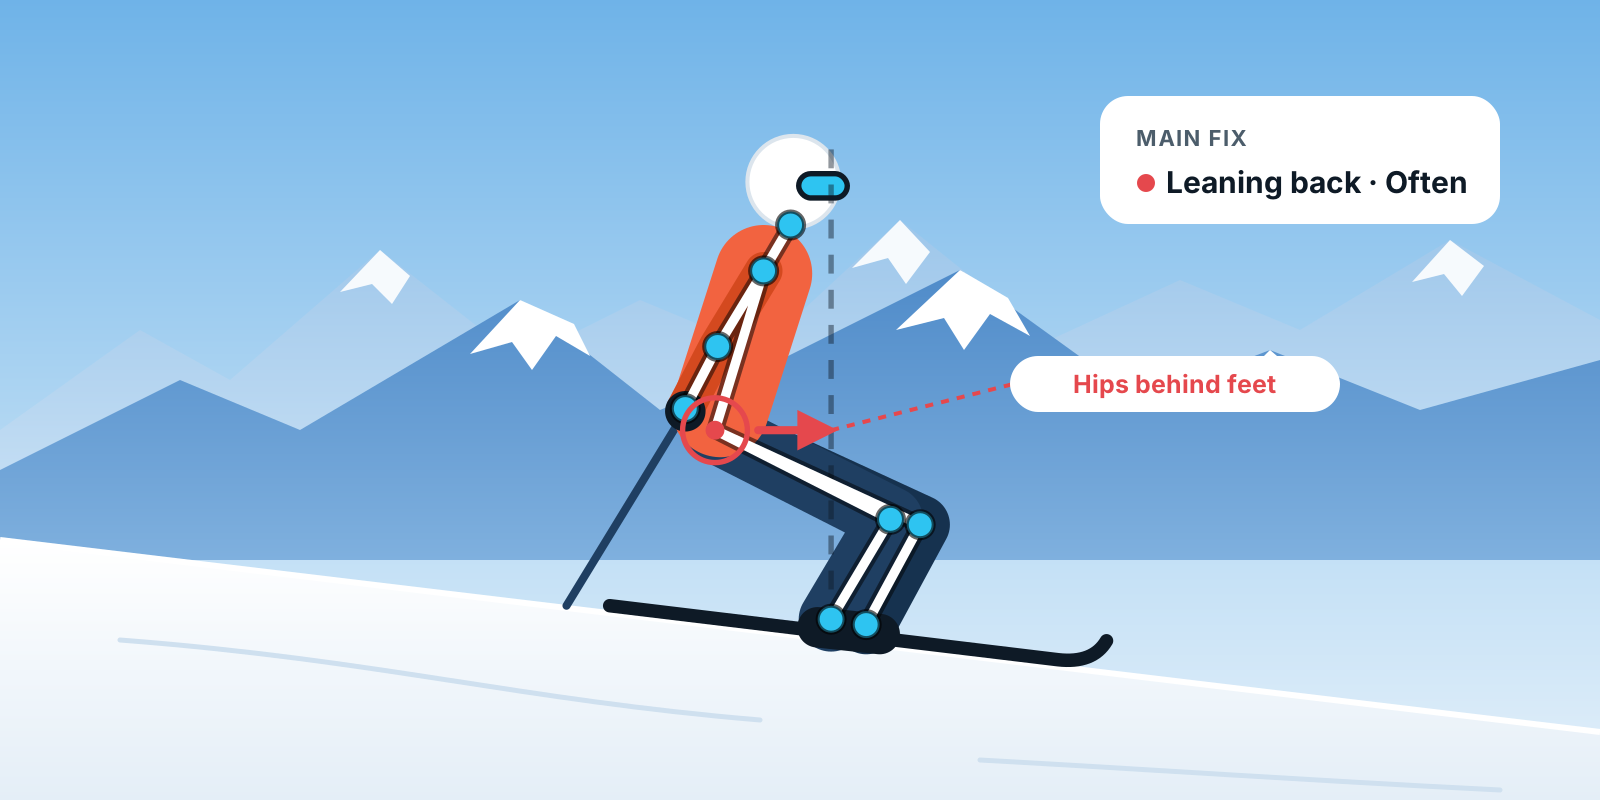
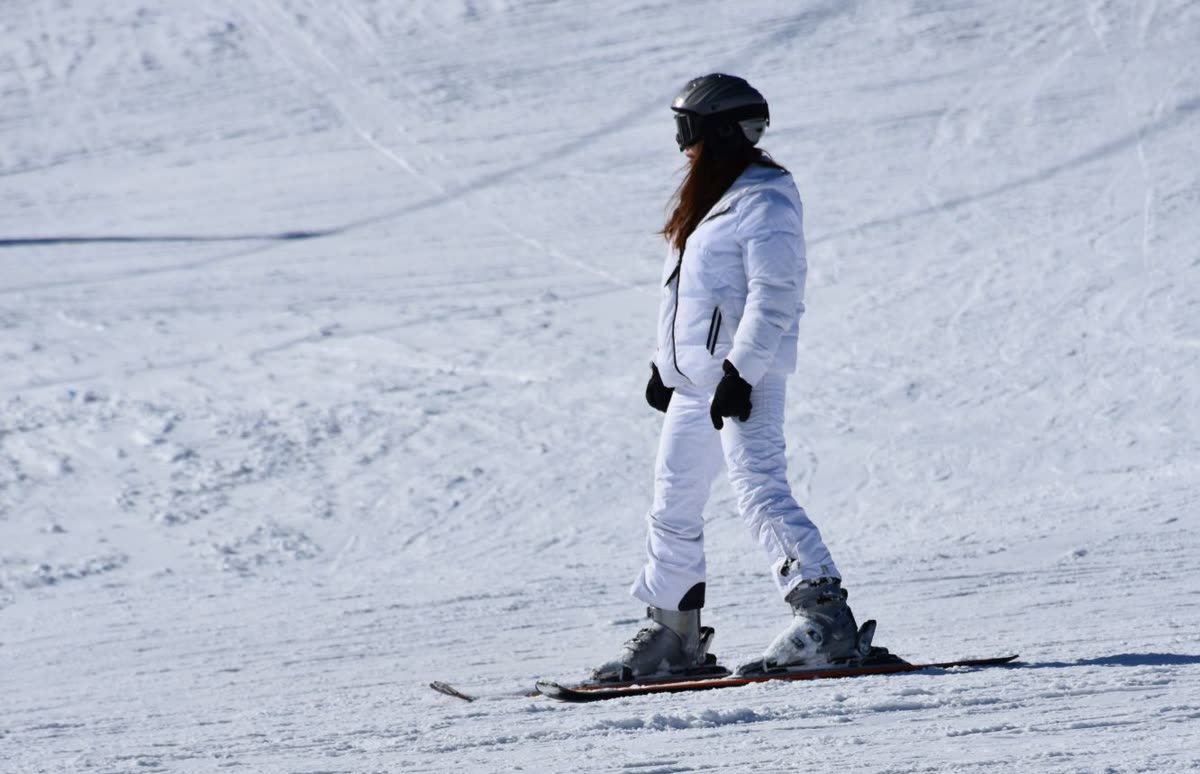
- From the side, as the rider passes: best for fore-aft balance, such as sitting back, and knee flex.
- From behind or in front, following or waiting below: best for upper body rotation, left/right match and A-frame knees.
If Slopeo says a check needs another angle, it’s telling you which one to film next.
4. Film 5–20 seconds of linked turns
You don’t need the whole run. A few linked turns on steady terrain give the most useful comparison. More than 20 seconds rarely adds anything.
5. Hold the phone steady
Use both hands, keep your elbows in, and pan smoothly with the rider. Following on skis works too: keep the same distance behind.
6. Film on similar slopes to compare
Scores are best for comparing your own runs. Film the same piste from a similar spot and you’ll see real progress, not a change of camera angle.
Quick checklist
- Whole body visible, boots to head
- Side view for balance, behind or front for rotation
- 5–20 seconds of linked turns
- Steady phone, smooth pan
- Similar slope and angle when comparing
Got your clip? Open Slopeo, choose it from your library and see your turns played back with your skeleton.